Content found in this wiki may not reflect official Church information. See Terms of Use for more information.
Erasing a Hard Drive
> Meetinghouse Technology > Computers
When a clerk computer reaches the end of its replacement cycle, the technology specialist is required to erase the hard drive before the machine is disposed of by the facilities management group (FMG).
It's a good idea to 'sticker' (label) computers that you have already completed the erase process, so your FM know what is ready for disposal.
Chromebook
Powerwash your device following the instruction at this link.
Windows Computer
Quickly erase data AND operating system
Try one of these 3 methods to perform a secure-erase and relatively fast process.
- Use the computer's built-in BIOS secure-erase function. This is an ideal as this method typically utilizes the best way to erase the internal hard drive, the BIOS issues a command to the hard drive for it to erase itself securely. For instance, Dell's built-in BIOS Data Wipe initiates a command that results in either a "Purge" or "Clear" state in accordance with NIST 800-88r1. With solid-state drives, the procedure takes a matter of seconds to complete, for a SATA drive it could take an hour depending on the capacity of the hard drive. Older computers may not have this BIOS disk-wipe functionality built-in, in which case you could use the hard drive manufacturer's own utility to perform secure-erase function, or (USB) boot an operating system that can perform the required function.
Dell (BIOS) Data Wipe Instruction:
https://www.dell.com/support/kbdoc/en-nz/000146892/dell-data-wipe
or
- Use Windows' Diskpart command.
- Boot from a Windows 11 installation USB stick.
- When in Windows Setup Select "NEXT"
- On the Bottom left side, you will have the option to "REPAIR YOUR COMPUTER", select this.
- Select "TROUBLESHOOT"
- Select "COMMAND PROMPT"
- Type DISKPART Press enter.
- DISKPART> (Is what you should see)
- Type list disk
- Type select disk 0
- Disk 0 is now the selected disk. (Is what you should see)
- Type CLEAN and press enter (Apparently, they do [repeat] this step three times.)
- You can verify by Typing LIST DISK
- The Size should match the free space. For example:
- Disk ###. Status. Size Free. Dyn Gpt
- * Disk 0. Online. 238 GB. 238 GB
- Type Exit
- Type Exit
- Process complete, select TURN OFF YOUR PC
With the above two erase methods, if needed, a fresh operating system (without provisioning) could be reinstalled if needed. Obviously, that would unnecessarily increase time spent on a computer that will be disposed anyway.
or
- Remove the hard drive and physically destroy the hard disk, drastic but effective. Obviously, you would then be disposing a computer without a working hard drive. Please confirm with the Facilities manager if this is the method he/she is happy for you to use, in case the computer is to be repurposed or used as parts for existing stock. Methods: For a solid-state hard disk, crushing the integrated memory chips on the module card should render data unrecoverable. For SATA drives, you would need to open the drive and destroy the circular disk platters, so they are not readable by the read/write heads. Before attempting this destroy method, you would need to know where to find these components so you're not needlessly destroying the wrong part(s) and not achieving the desired outcome of destroying the data. 
or
Erase data and retain existing operating system (the extremely slow method)
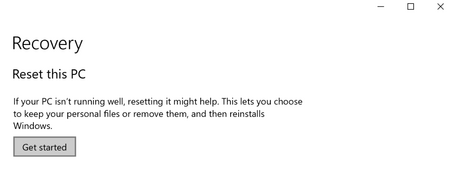
- The easiest way to reset the PC is to use the "Recovery: Reset this PC" functionality built into Windows.
Note: This is an extremely slow process to complete and may not securely erase data from the computer’s hard drive, meaning that user data can still likely be recovered using data recovery utilities. Of course, if Windows BitLocker was used to encrypt the drive, then the wiped data is unlikely to be recoverable by classical computing.
STEP 1
Turn on the PC and log in to Windows.
STEP 2
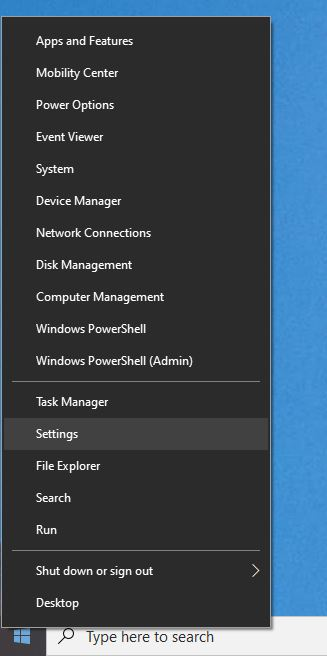
Right-click the Start menu and click settings.
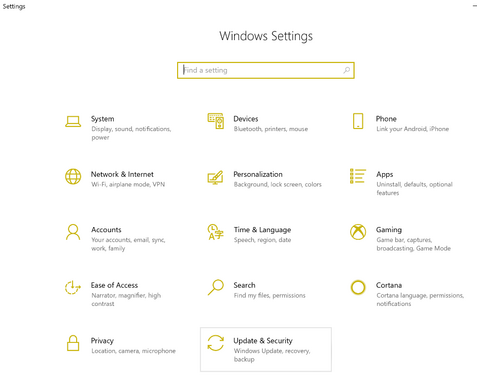
STEP 3 Windows 10
Click Update & Security.
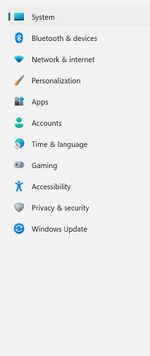
STEP 3 Windows 11
Click System.
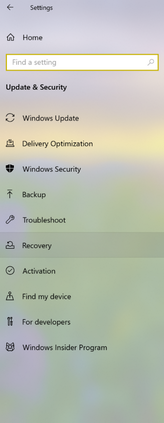
STEP 4 Windows 10
Click Recovery.
STEP 4 Windows 11
Click Recovery.
STEP 5
Under “Reset this PC,” click Get started.
STEP 6
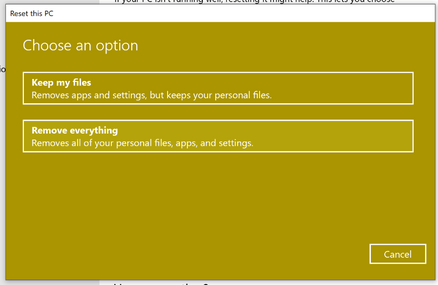
Select Remove everything.
STEP 7
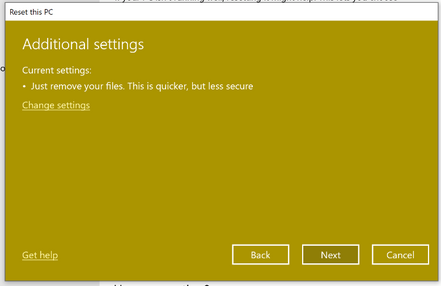
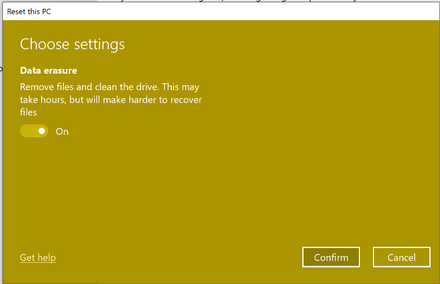
Click Change settings and toggle the option to On for data erasure, then click Confirm.
STEP 8
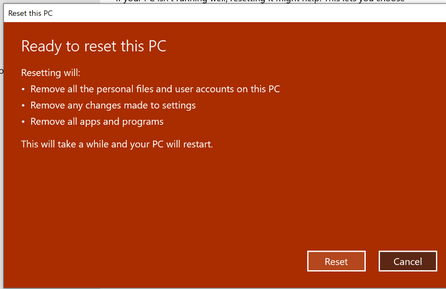
Once you click Next, you will receive one final prompt that summarizes what you have requested and asks you to confirm. Click Reset to start the reset process.
STEP 9
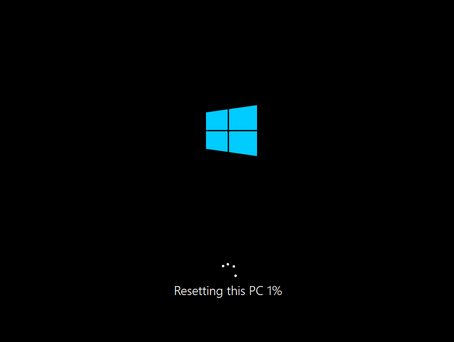
After you confirm and click Reset, it will say “Preparing to reset this PC. It will restart automatically.” You will also see a percentage. Once the PC has finished preparing and reaches 100%, it will reboot the machine and start the reset process. The reset process can take anywhere from 25 minutes to a few hours, depending on the options you have chosen. You should see a progress percentage upon reboot; once it reaches 100%, the reset is complete. Please contact your facilities management office for country-specific disposal instructions.
